November 19, 2021
You may have read my saga on here about the difficulties I had getting a CPAP machine.
Table of Contents
Got a CPAP machine yesterday
I finally got it yesterday. I had gone through the interviews and the allergy tests and the overnight sleep studies and all the phone calls and insurance problems…and, the CPAP machine pick-up day had finally arrived! God, I had been trying to get one for…for how many months? I’ll have to check…quite a few it seems! Thank you, universe for the help!
At the medical place, the man gave me a sort of tutorial demo. I tried my best to pay attention. I should have probably taken notes. I tried hard to take mental notes.
What I did do, though, is take a bunch of pictures when I got home. Those might help people who just got a CPAP machine or…more likely…I think they will be of interest to somebody who’s getting a CPAP machine or considering getting one. You can get a damn good look at it right here.
In 24 pictures below, I go over the CPAP machine unboxing and initial set-up with some additional discussion along the way.
I took a bunch of CPAP unboxing pictures
The pictures show me unboxing my CPAP machine. The pics show the different pieces of the CPAP and how they connect, and I’ll discuss a bit about it all probably.
CPAP case and distilled water
So, in the picture immediately below, you can see the fairly decent case that the CPAP comes packaged in…and, you want to use distilled water with it, so I put a gallon of distilled water next to it to reinforce that point. I need to stock up on some gallons. Now, to be fair, you don’t really have to add a huge amount of water to it, but still…you will want some back-up gallons of distilled water.
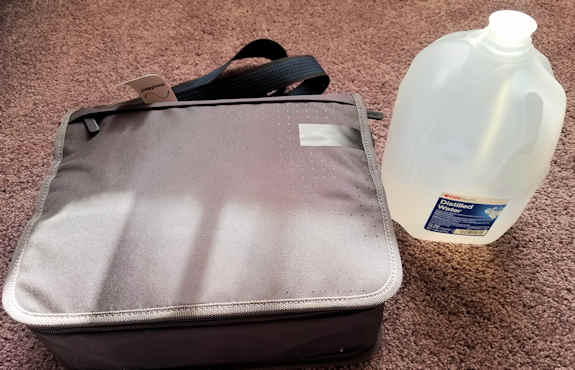
CPAP in case and a gallon of distilled water
Below, I unzip my CPAP suitcase for the first time. It seems to be packaged neatly.
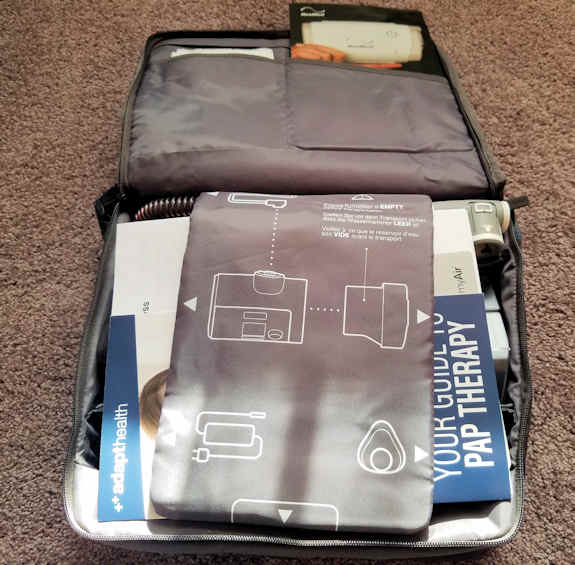
So, you get the CPAP machine and it comes in a little suitcase. Let’s unzip it. You can see that the top is covered with various instruction manuals and such…
CPAP case flipped open: machine, hose, cord, etc.
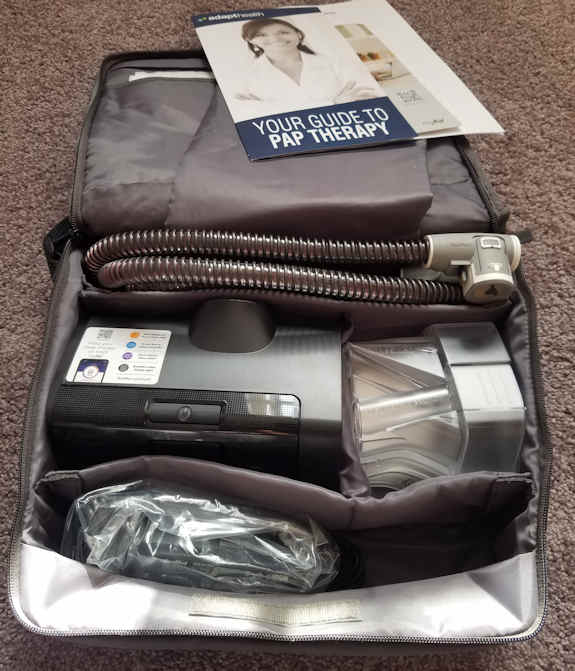
Okay, let’s look into the CPAP case and see what’s what…
You can get a better idea of what the case looks like when you start digging around.. notice the hose…
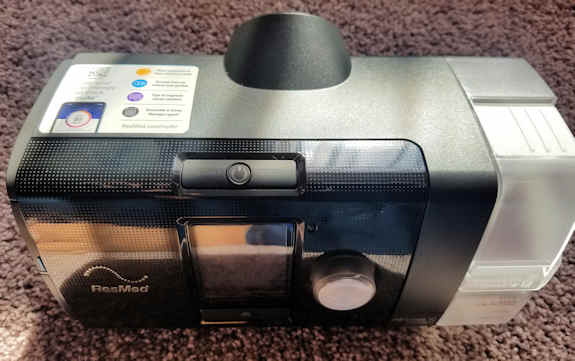
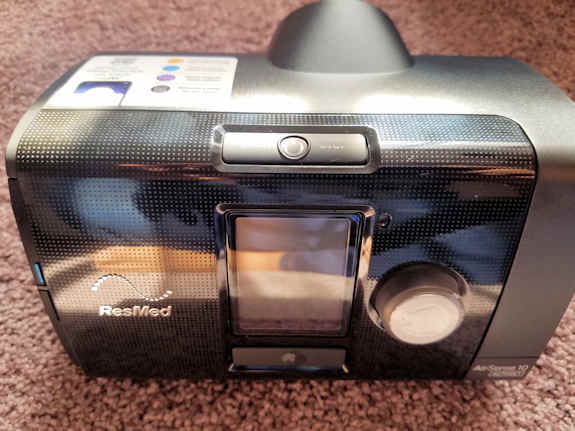
Front view picture of CPAP
So, as you can see, this is the front view picture of my new ResMed CPAP machine. It was covered by my insurance: and, I’m thankful for that!
On the left is a filter hatch. On the top is a power button. On the front is a little monitor where you can access settings/options along with your Sleep Report. And, on the right is the removable plastic piece that you can fill with water. On the back of the machine is the port where the hose gets attached. That really is the basics of a CPAP machine outlined. There’s not a whole heck of a lot to it. I’ll keep posting some more close-ups though, and you’ll have a damn comprehensive idea of what you’re getting with a CPAP machine by the time you’re finished with this feature.
Here’s a front and top view of the CPAP machine
Top of CPAP machine pictures
Below is the sticker atop the machine. There was a scan code in the upper left. I covered that up. But, you can scan it and do something or other. I haven’t gotten to that yet.

Sticker on top of my CPAP machine
As you can see, this is the power aka stop/start button. They tell me that I’m never supposed to turn the machine off. So, I’m leaving it on all the time!
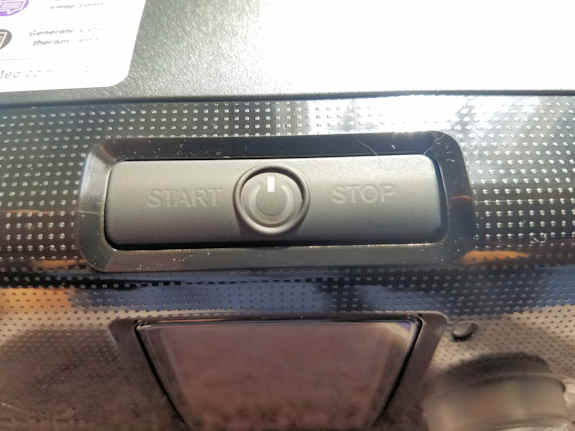
Start stop button
Side views of CPAP machine pictures
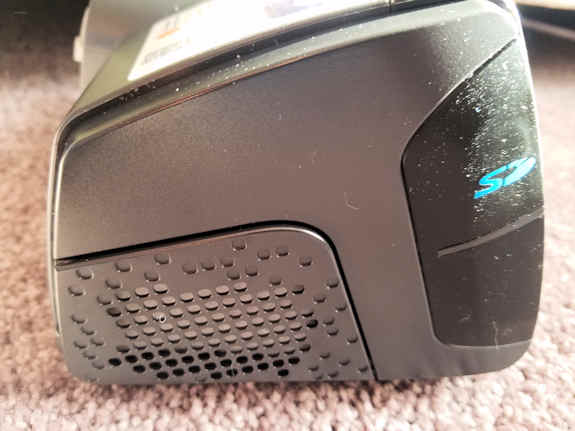
Side view CPAP machine. When you pop this open, there’s a filter. You’re supposed to replace the filter every couple weeks or so…
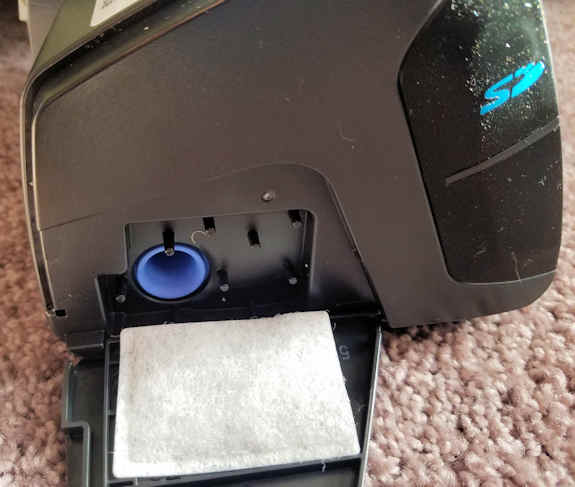
Cpap filter
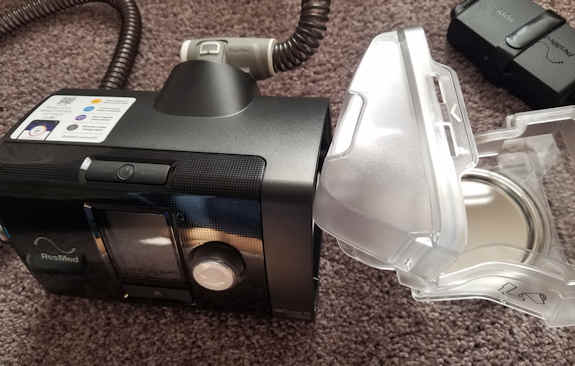
Mask box
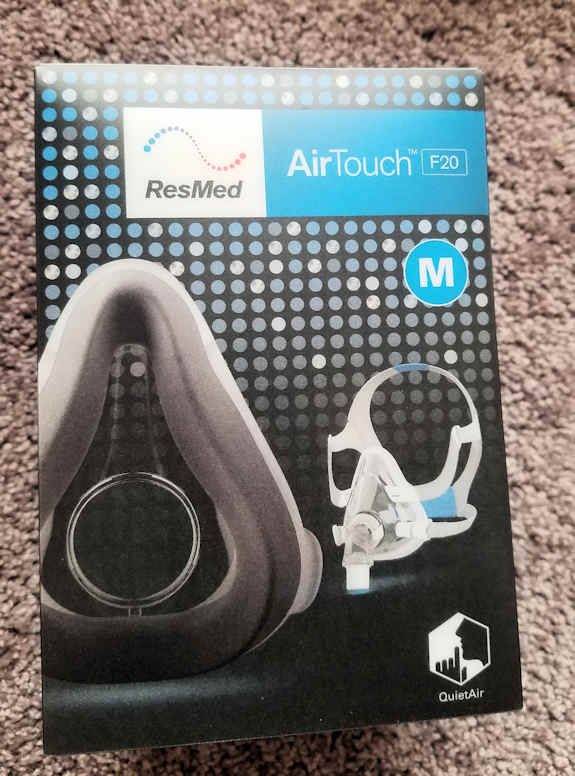
CPAP mask box – Res Med Airtouch facemask
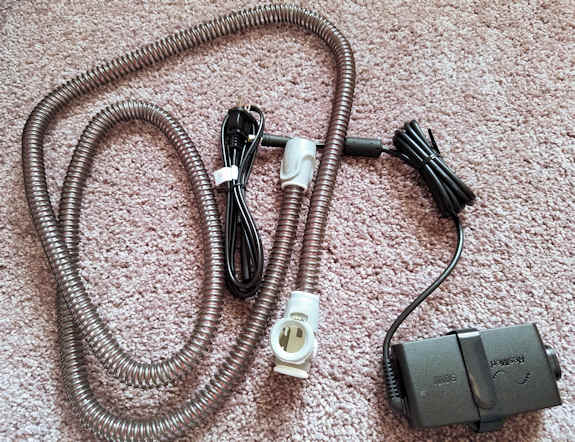
Cpap power cord pictures
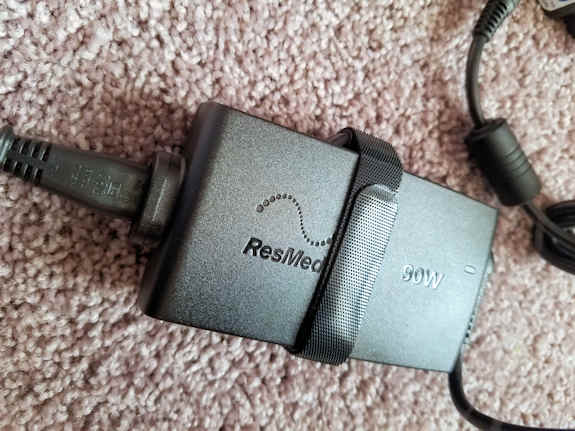
CPAP power cord
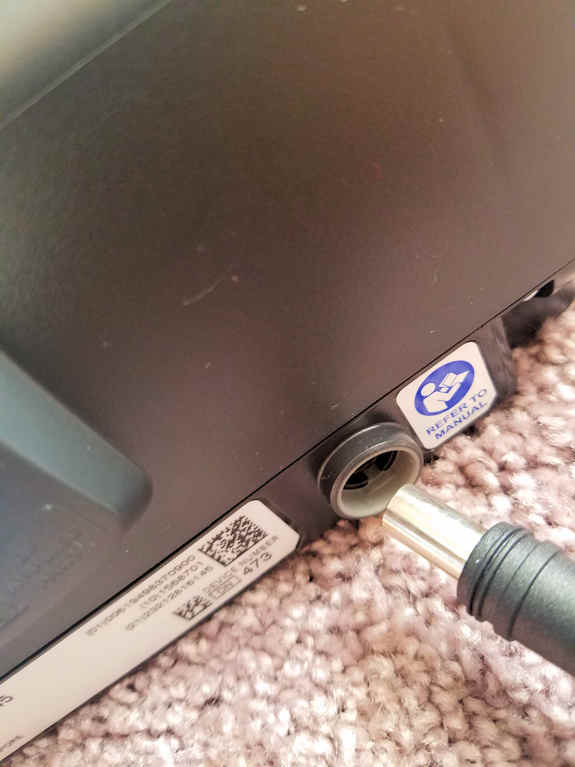
Attaching CPAP power cord
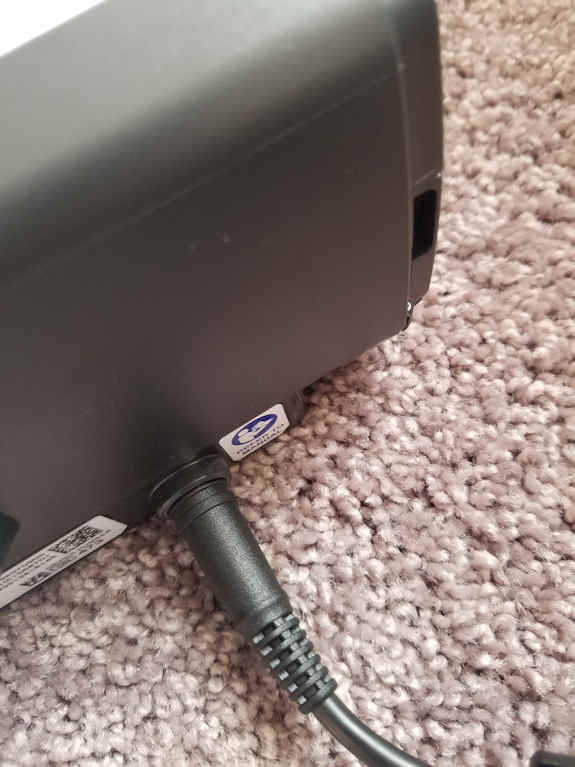
CPAP with power cord plugged into it
Now, that’s a handsome CPAP!
This is a CPAP machine
Back of CPAP machine
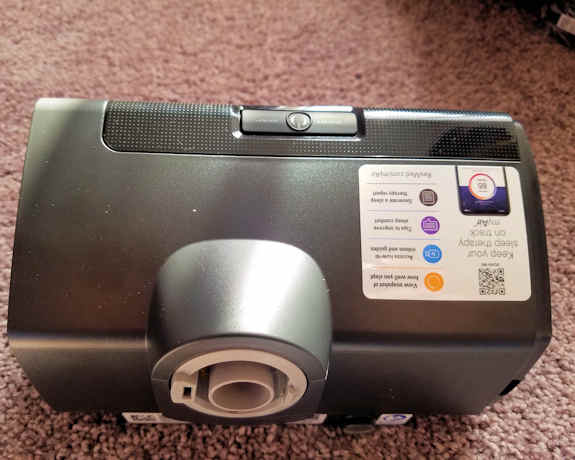
This is the back of CPAP machine. You can see the port for the hose attachment
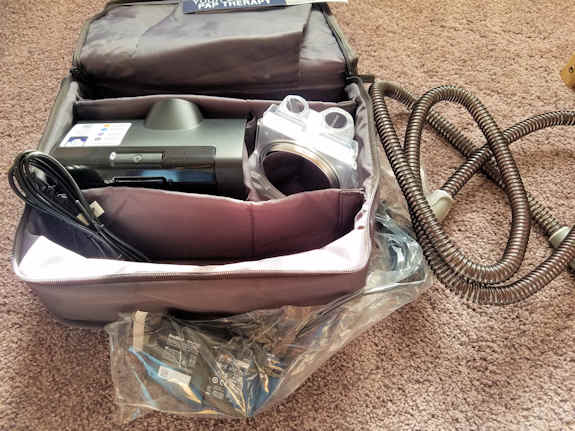
CPAP machine hose and cords and nozzles pictures
Hose and cord of a CPAP machine
The hose easily clicks in to the CPAP’s back port.
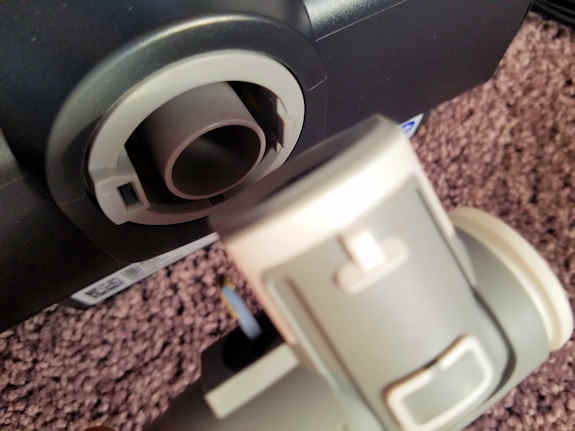
Attaching the CPAP hose nozzle to the back of the CPAP machine
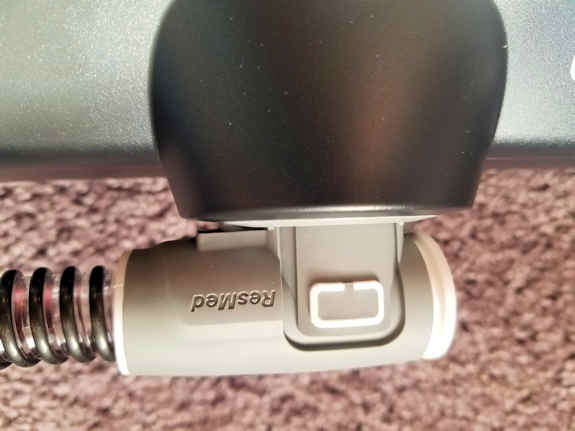
Hose attached to back of CPAP machine
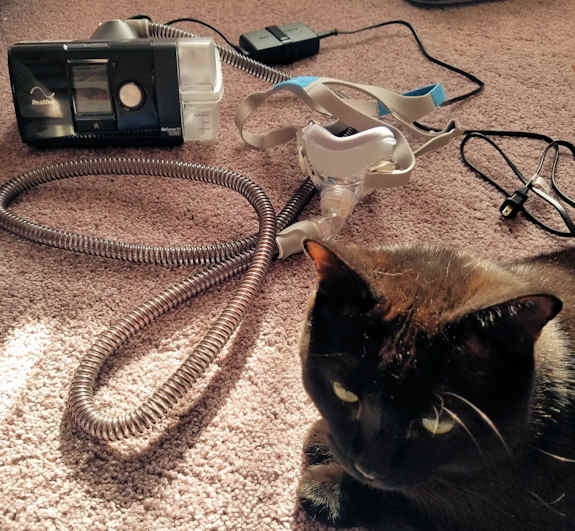
CPAP machine with all the attachments: notice the hose is hooked up on one end to the face mask and the other end of the hose is inserted into the back of the CPAP machine… it’s not super complicated or anything…
This is the mask
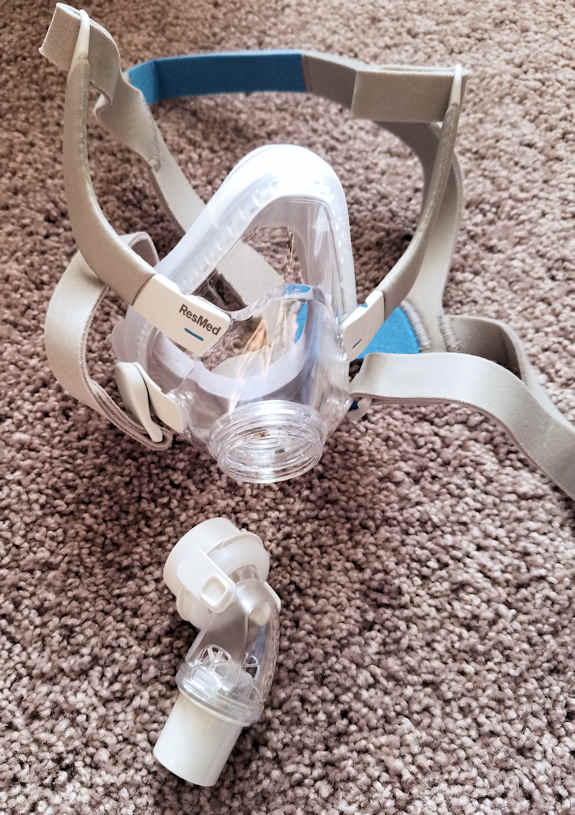
A shot of the CPAP face mask
CPAP’s distilled water container
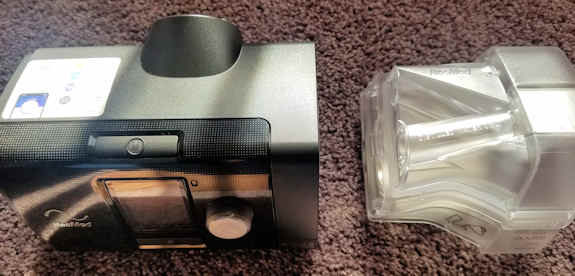
CPAP with side piece: the plastic part gets filled with some distilled water and then it clicks into the side of the CPAP machine
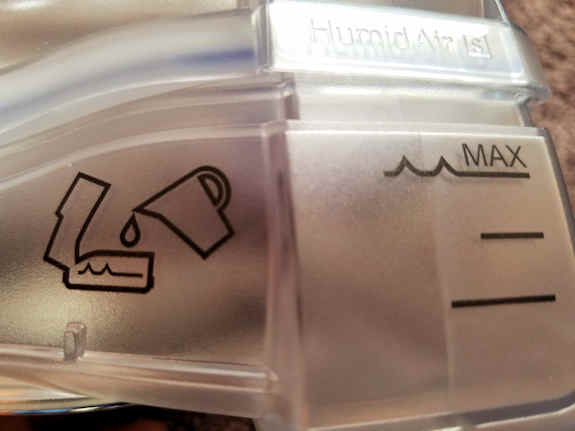
Distilled water container of the CPAP machine
CPAP with open water holder…
And, this will now be on my face every night for the rest of my life
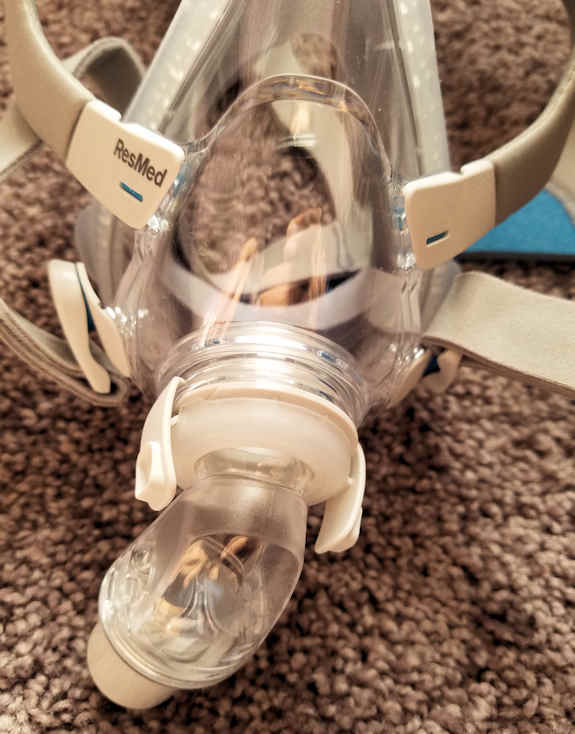
close-up of CPAP face mask
The start of my CPAP journey
So, that’s about it for the CPAP machine unboxing. And, this is the start of my CPAP journey. I’ll be wearing that mask above every night when I go to sleep from last night until the end of my life. That’s the way it is. I want to definitely fashion a more convenient table and set-up for the gizmo. Thanks for sharing this journey with me.